Page 1
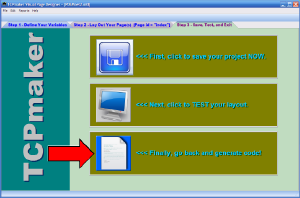
Now that you have designed and tested your layout, you are ready to exit the Visual Page Designer to go back to the TCPmaker wizard and generate code.
To exit the Visual Page Designer, click the button labeled "Finally, go back and generate code!"
Click on the image for page view.
Page 2
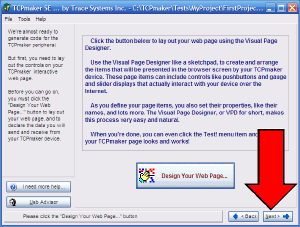
You're back at the TCPmaker wizard, and now you can click the "Next" button to generate custom source code for your project..
Click on the image for page view.
Page 3
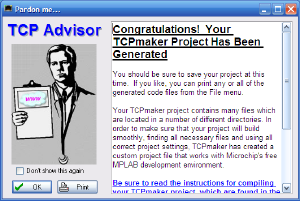
TCPmaker calls the MPFS2 program to turn your content files into a form that can be stored on your device. When this happens, you will see one or more command line windows appear briefly, one for each compiler that you generate code for. These command windows will disappear automatically, when that part of the process is complete.
You will then see a message from your TCP Advisor, reminding you that you should look at the file ReadMe.txt for build instructions that TCPmaker has provided for each compiler you are generating code for.
Click on the image for page view.
Page 4
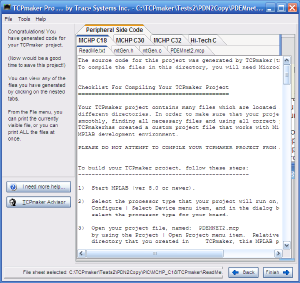
The purpose of TCPmaker Advisor's message is to remind you that any Microchip TCP-IP Stack project is complex, containing many files located in several directories.
To make things easier, TCPmaker has created a project file for you, for use in Microchip's free MPLAB development environment. Using this will make sure that the compiler finds all the files in your project, and thaat all your compiler settings are correct.
To use this project file, simply start MPLAB and open this project file. A complete step by step checklist of instructions, on how to load your TCPmaker project into MPLAB and compile it, is in file ReadMe.txt, which you should print right now.
If you have ever compiled a PIC project in MPLAB before, you will find that most of the steps in this checklist are familiar reminders of things you already know. There are some steps that are specific to setting up your TCPmaker project for the specific type of hardware you will be running.
File ReadMe.txt is also part of your MPLAB project, and can easily be viewed right within MPLAB itself to guide you.
Click on the image for page view.
Page 5
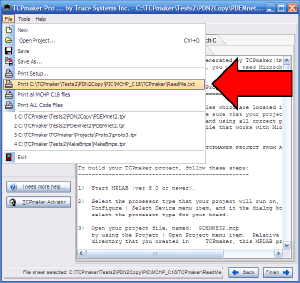
To print the currently selected file, click the File menu item that shows the name of the currently selected file.
Notice that there are also several other menu items for printing generated files:
Print all MCHP C18 files tells TCPmaker to print all generated files for the currently selected compiler, which happens to be Microchip C18 at the moment.
Print ALL Code Files tells TCPmaker to print all the generated files for ALL compilers you generated code for.
Click on the image for page view.
Page 6
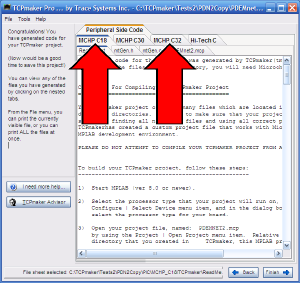
The generated code is displayed in a nested set of tabbed notebooks. The topmost notebook is labeled "Peripheral Side Code", and in this version of TCPmaker, only has one page.
Inside this notebook, there is a separate tab (see arrows) for each PIC compiler that you asked TCPmaker to generate for you. The picture shows that, currently, the Microchip C18 compiler selected.
When you click on one of these compiler tabs, you see row of tabs for each of the files that TCPmaker has generated for this compiler.
Click on the image for page view.
Page 7
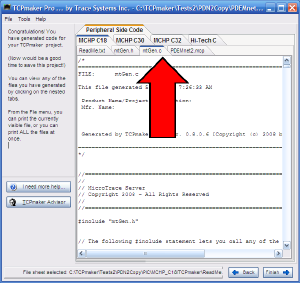
Just click on a tab to view a different file. You can expand the TCPmaker window and scroll down through the file for your convenience, and use the menu items in the File menu to print one or more files.
Click on the image for page view.
Page 8
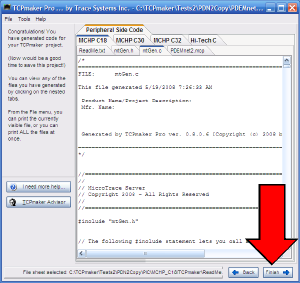
TCPmaker has created complete custom source code, for several PIC compilers, for your project. At this point, the generated code is ready to compile, though it doesn't yet have any of the code that you will add in order read pushbuttons or ADC channels or light LEDs on your board. In our next tutorial, we'll look at the code that was generated, and add a small amount of code to make project come alive.
For the moment, though, you are now ready to save your project and exit the TCPmaker program itself. Just click the Finish button...
Click on the image for page view.
Page 9
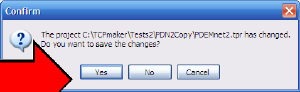
...and click Yes on the Confirm message box that comes up, so as to save your project in the TCPmaker project file that you created at the beginning.
This will save your TCPmaker layout and other project settings in a TCPmaker project file (file extension type: *.tpr), and exit the program.
In our next tutorial, we'll load your project into Microchip's MPLAB and have a look at the code, and what happens if you compile and run the code exactly the way TCPmaker generated it.
Click on the image for page view.
|